Well, it is February! The month of love and cupid and such. I thought about posting a few different recipes, but this one's been on my mind because of how comforting and homey it feels. Here's a little update on life:
In January, we had to put down our 13 year old German Shepard. It was really sad, but I was glad that she wasn't suffering anymore. Here she is during Christmas:
 |
| Heidi |
The whole family misses her, but it is getting easier. The other dog we are pet sitting distracts our thoughts somewhat. Superbowl junk food evening was good, but the power outage was a bit of a surprise! I liked the halftime show and there weren't any costume malfunctions, which is always good!
One thing I have been enjoying is couponing! My best savings happened today with a 48 percent savings (coupons and sales). It is somewhat of a rush to get good deals on items we will use. This recent shopping trip I used my coupon skills to buy food stuffs for the local pantry. I can't wait to drop it off! :)
Anywho, let's get back to the food! This bread recipe takes a bit of time, but it is worth it! I will definitely make it again, soon!
Ingredients:
- 2 and 1/4 cups warm water
- 1/3 cup maple syrup (I suggest using the real maple syrup)
- 1/4 cup melted butter
- 3 cups whole wheat flour
- 1 and 1/2 tsp. salt
- 1 and 1/2 TBSP. active dry yeast (I think I used two packets or so...)
- 3 cups of bread flour (I used all-purpose flour and it worked)
Instructions:
- Combine the first three ingredients in a saucepan and heat over low heat until warmed.
- Combine the whole wheat flour, salt, and yeast in a bowl.
- Add the warmed ingredients to the flour mixture. Stir for about a minute.
- Put the dough hook on your mixer and run it on the lowest setting (or mix by hand). Slowly add in the bread flour (or all purpose) 1/2 cup at a time. You should end up with a ball of dough.
- Turn the mixer to the second setting and knead the dough for 2 minutes (or knead by hand).
- Lightly grease a bowl and place the dough in it. Let it rise until it has doubled in size.
- Once it has doubled in size, take it out of the bowl and punch it down. Divide the dough into two equal chunks and shape it to fit in bread pans.
- Grease two bread pans and place the dough in them.
- Cover each pan with a tea towel, set the pans in warm, dry place and let the dough rise for a second time. The loaves are ready when the top pops out of the pan.
- When the dough is ready, pre-heat the oven to 350 F (180 C).
- Bake the loaves for 30 minutes.
- Let the pans cool for at least 20 minutes, then remove the bread and let it cool on a wire rack.
- Enjoy!
I hope you get the chance to try it out! Don't be afraid of the time it takes to rise. You can easily busy yourself with something else while waiting without having to worry or fuss.
Love it? Hate it? Want to make it? Let me know what you think with a comment below!
As always...
Bon appétit!

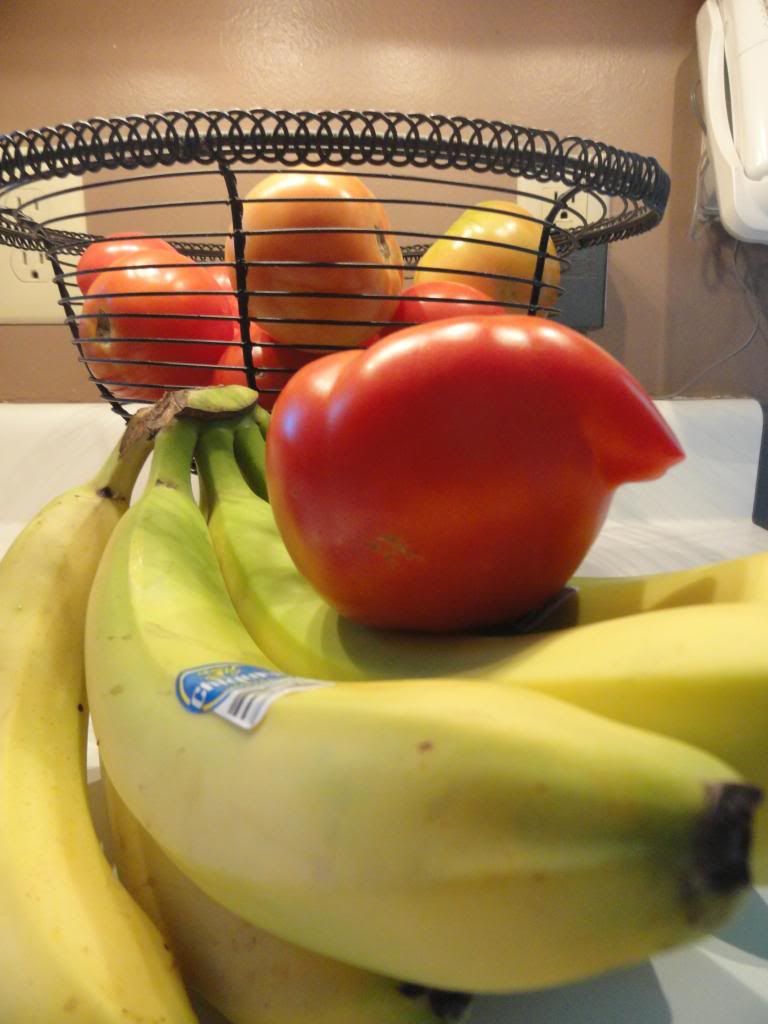
 A little while ago, I tried out this recipe for Cheesy Quinoa Bites and decided that I wasn't a fan of the texture and taste combination. I will say that dipping the bites into the honey mustard dipping sauce did improve the taste of the quinoa bites, but not enough for me to want to eat all 30 of them. I have linked the recipe below, in case you are interested and would like to try it out. I snapped a few photos of the quinoa bites and a photo of a funny looking tomato that I found at the farmer's market. It looks like it has a nose!